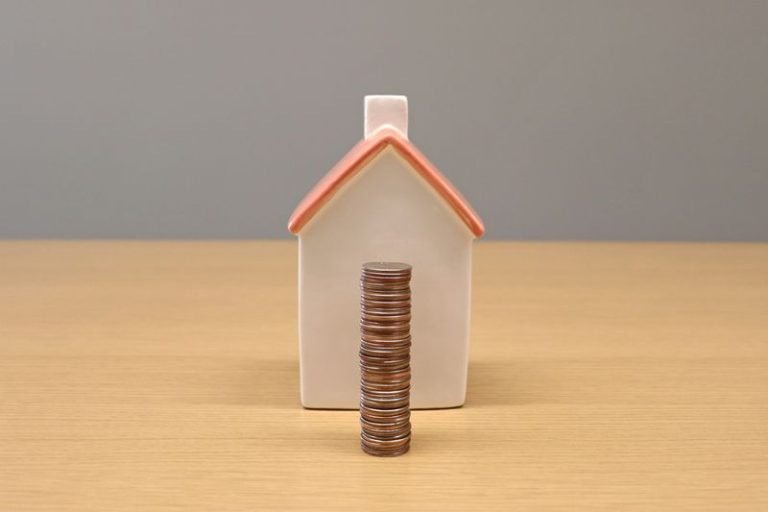
For most, a home is the largest financial investment. It’s easy to view homeownership passively, as static structures needing attention only when things break. In reality, maintaining a property is dynamic, involving mechanical, electrical, structural, and plumbing systems that endure constant wear from use and environment. Ignored minor issues rarely stay minor. A slow drip under a sink can rot the subfloor and grow mold, turning a simple gasket replacement into costly remediation. Similarly, ignoring a noisy heating system can lead to a total failure, necessitating premium emergency rates for replacement. A proactive home maintenance strategy effectively shields your finances from surprises. By targeting key areas, you can extend appliance lifespan, reduce utility bills, and preserve resale value.
Clean or Replace Your Air Filters Every 30 to 90 Days
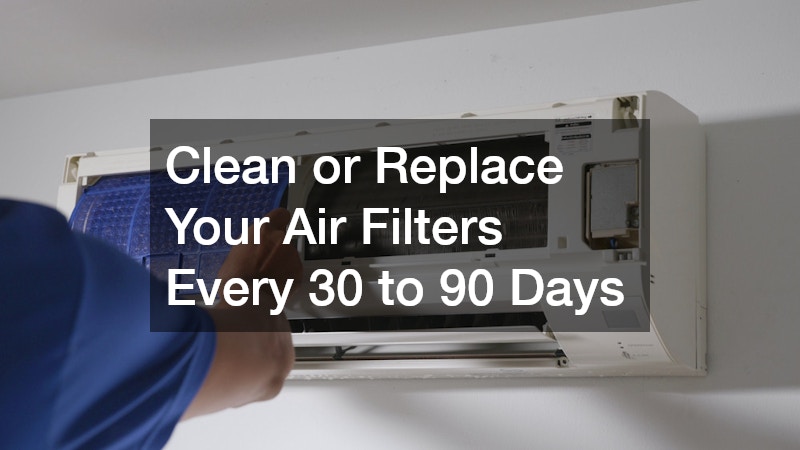
Your heating and cooling system depends on unrestricted airflow to regulate indoor temperatures. A clogged air filter with dust, pet dander, pollen, and hair makes the system work harder to pull air through the vents, leading to increased energy consumption and component failure.
- Locate your return vents or furnace slot: Air filters are typically located inside the return air grilles on your walls or ceilings, or directly in a slot next to the indoor furnace or air handler unit.
- Select the appropriate MERV rating: Minimum Efficiency Reporting Value (MERV) ratings for residential systems range from 1 to 16. Higher ratings trap smaller particles but restrict airflow more. A MERV rating between 8 and 11 balances air filtration and system efficiency in most homes.
- Set a tailored replacement calendar: If you live alone with no pets, you can stretch your filter replacements to every 90 days. However, if you have multiple pets, suffer from allergies, or have a large family, you should inspect and replace your filters every 30 to 45 days.
Operating a system with a choked filter stresses the heat exchanger, freezes the cooling coils, triggers shutdowns, and leads to HVAC repairs, which could be avoided with a quick, inexpensive filter change.
Schedule Professional Calibration Before Peak Seasons
While basic tasks like changing air filters are good for homeowners, the internal mechanics of heating and cooling systems require specialized diagnostic equipment and technical training. Over time, electrical connections can loosen, fan blades gather dust, and sensors can become miscalibrated.
- Verify electrical connections and amp draws: Technicians will tighten all electrical terminals and measure the current draw on motors. A motor drawing too much current is a clear warning sign of impending failure.
- Clean the evaporator and condenser coils: Dust buildup on these coils acts as an insulator, reducing the system’s heat transfer efficiency and forcing the compressor to run longer cycles.
- Clear the condensate drain line: Algae and mold can clog the drain line, causing water to back up and overflow into your ceiling or basement, resulting in severe water damage.
To ensure these complex systems are managed correctly, partner with certified HVAC contractors who have the training and tools to test system pressure, run gas line safety checks, and verify accurate thermostat communication with your system.
Flush Your Tank Annually to Clear Out Heavy Sediment
Your hot water heater is crucial for maintaining hot water for showers, dishes, and laundry. Municipal water contains dissolved minerals such as calcium and magnesium. When heated, these minerals crystallize and settle at the tank’s bottom, forming sediment. This sediment acts as a thermal barrier between the burner or heating elements and the water, requiring the burner to run longer and hotter. This overheats the tank bottom, weakens the glass lining, and can lead to premature tank failure.
- Turn off the power supply: For electric models, turn off the breaker at the main electrical panel. For gas models, turn the gas control valve to the “pilot” or “off” position.
- Close the cold water inlet: Locate the shutoff valve on the cold water pipe entering the top of the water heater and close it completely.
- Attach a garden hose to the drain valve: Run the other end of the hose to a safe drainage area, such as a floor drain, utility sink, or your driveway.
If you hear popping, rumbling, or banging noises from your tank when heating, or if your hot water runs out faster than usual, sediment buildup may be severe. You may need professional water heater repair to clear the system and replace damaged heating elements or the anode rod.
Inspect Exposed Pipes and Under-Sink Cabinets Monthly

Water damage is one of the most destructive forces a home can face, and it often begins with a slow, silent leak that goes unnoticed for months. The best defense against water damage is a routine, hands-on inspection of all visible plumbing fixtures and pipes.
- Empty and check under-sink cabinets: Once a month, clear out the spaces beneath your kitchen and bathroom sinks. Feel the bottom of the cabinet for dampness, warping, or water stains, and run a dry paper towel along the plastic or metal drain traps to detect slow leaks.
- Examine exposed basement and crawlspace pipes: Walk through these areas with a flashlight, looking for copper pipes with green corrosion or white mineral crusts around joints, which indicate slow, evaporating leaks.
- Check appliance water connections: Inspect the braided steel hoses leading to your washing machine, dishwasher, and refrigerator ice maker. Replace any hoses that show signs of bulging, fraying, or rusting.
Enlisting licensed plumbing contractors for repairs ensures compliance with local building codes, preventing future pipe failures, while simple tasks like tightening a slip-joint nut can be done in minutes.
Test Your GFCI Outlets Monthly to Ensure Safety Shuts Off
Electricity is convenient but dangerous if it escapes its intended path. Ground Fault Circuit Interrupters are outlets installed where water is present, such as kitchens, bathrooms, laundry rooms, and outdoor spaces. These outlets monitor the balance of electrical current in the circuit. If they detect a leak of current, they cut the power in milliseconds to prevent electrocution.
- Locate all GFCI outlets in your home: These outlets are easily identified by the “Test” and “Reset” buttons located on the faceplate between the plug receptacles.
- Perform the push-button test: Press the “Test” button. You should hear a distinct click, and the “Reset” button should pop out.
- Verify power disruption: Plug a small nightlight or phone charger into the outlet to verify that no power is flowing through it while the reset button is popped out.
Working with live electrical currents can be lethal if you make a mistake. To ensure your electrical systems meet modern safety standards, hire a qualified electrical company for tasks like installing new safety outlets in an older home or addressing a faulty GFCI outlet.
Map Your Breaker Box and Track Flickering Lights
Your home’s electrical panel is the central distribution point for all the power running through your walls. As homes age and we plug in more high-power devices, older panels can become overloaded. Understanding your electrical panel’s layout and noting warning signs can prevent electrical fires and frequent breaker trips.
- Create an accurate panel directory: Choose a quiet afternoon to map your breaker panel. Turn off one breaker at a time and walk through your home to identify which outlets, lights, and appliances lose power. Label each breaker clearly on the panel door index.
- Investigate flickering or dimming lights: If your lights flicker briefly when a heavy appliance like the AC compressor or vacuum turns on, it indicates a sudden voltage drop. This is a sign that your circuits are overloaded or that there are loose connections inside your panel.
- Listen for unusual noises: A healthy electrical panel should run silently. If you hear buzzing, clicking, or sizzling noises coming from the box, turn off the main breaker immediately, as this indicates dangerous electrical arching.
Upgrading outdated electrical panels with safety defects is crucial. A licensed professional electrical service can replace your panel, install dedicated circuits for high-powered appliances, and ensure your system is properly grounded.
Scan Your Attic for Water Stains After Major Rainstorms

Your roof is your home’s primary shield against the elements, enduring heavy rains, snow, wind, and sunlight. Many homeowners ignore the roof until water starts dripping through the living room ceiling. By then, water has likely saturated the drywall, ruined attic insulation, and caused structural rot in the rafters.
- Perform post-storm attic checks: Safely access your attic with a bright flashlight after a heavy rainstorm or during a period of snowmelt.
- Look for active dampness and water staining: Inspect the plywood roof decking directly above you, paying special attention to areas around chimneys, skylights, plumbing vents, and roof valleys where two slopes meet.
- Trace damp sheathing upward: Water does not always drip straight down; it often runs along rafters or beams before dripping onto your insulation. Trace any wet paths back to their source on the roof decking.
If you spot minor issues early, such as a loose rubber boot around a plumbing vent or a few damaged shingles, arranging for prompt roof repairs can add years of life to your current roof structure and save you thousands of dollars in interior remediation costs.
Clean Gutters Twice a Year to Avoid Water Backing Up Under Shingles
Gutters collect rainwater from the roof and direct it safely away from your home’s foundation. When clogged with leaves, twigs, and pine needles, water pools in the gutters, becomes heavy, and backs up under the shingles, damaging the fascia board and roof deck.
- Clean gutters in spring and autumn: Schedule cleanings at least twice a year, or more frequently if your property is surrounded by mature trees.
- Wear proper safety gear: Always use a sturdy extension ladder with a stabilizer bar, wear thick work gloves to protect your hands from sharp metal edges, and use a narrow plastic scoop to remove debris.
- Clear the downspouts: Flush the gutters with a garden hose after scooping out the bulk debris. If water pools in the gutter instead of draining, use a plumber’s snake or a high-pressure hose nozzle to clear the clog inside the downspout.
Homeowners can manage basic cleaning and minor gutter sealing, but climbing high ladders on multi-story homes is risky. For complex roof damage, high-altitude repairs, or system replacements, hiring a professional roofing company ensures safety and reliability.
Clean Your Refrigerator Coils and Dryer Vents Regularly
Kitchen and laundry appliances are designed for convenience but need regular maintenance to ensure efficient and safe operation. Neglecting basic cleaning shortens their lifespan and increases utility bills.
- Clean your refrigerator condenser coils: Dust, pet hair, and lint insulate the refrigerator’s condenser coils, found behind a grill at the front bottom or back. Vacuum these coils every six months with a narrow brush attachment to allow the compressor to dump heat efficiently, extending the appliance’s life.
- Clear your clothes dryer vent line: Lint traps catch some fibers shed by clothes, but the rest accumulates in the exhaust duct. Annually, disconnect the transition duct from your dryer and use a flexible brush to clean the entire duct length to the outside wall.
- Check washer hoses for wear: Visually inspect the hot and cold water supply hoses behind your washing machine for cracks, kinks, or bubbles. Replace standard rubber hoses with durable braided stainless steel models to prevent sudden bursts.
When appliances stop heating, make grinding noises, or refuse to turn on despite basic troubleshooting, it is time to call an experienced appliance repair service. Specialized technicians can diagnose electronic control boards, replace worn drive belts, and install replacement heating elements safely.
Seal Hairline Cracks in Your Exterior Walls Immediately
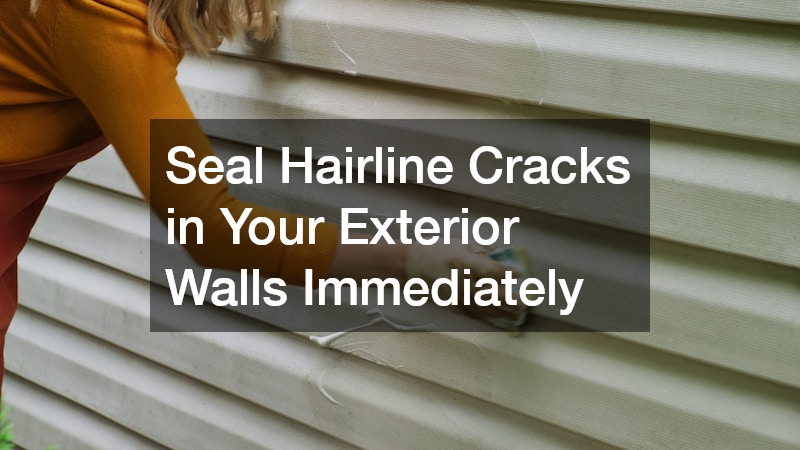
Exterior wall finishes protect your home’s wooden framing from moisture, pests, and wind. Over time, soil settling, thermal expansion, and seismic vibrations can cause cracks to form in these protective layers. If left unsealed, rain can penetrate and become trapped behind the wall, rotting the wooden studs and sheathing underneath.
- Conduct an annual exterior inspection: Walk slowly around the perimeter of your home, looking closely at areas around windows, doors, and where different building materials meet.
- Identify problematic cracks: Hairline cracks smaller than a fingernail’s thickness can often be sealed easily. However, cracks wider than one-sixteenth of an inch, or cracks that run diagonally through your exterior walls, indicate shifting structural elements.
- Clean the crack before sealing: Brush away loose dust, dirt, and crumbling material from inside the crack using a stiff wire brush.
Minor sealing is a great weekend DIY project. However, widespread cracking, bulging, or water-stained walls indicate deeper structural moisture issues. In such cases, it’s essential to hire specialists for professional stucco repairs. This involves removing damaged sections, fixing the underlying water barrier, and reapplying the exterior layers for a seamless, watertight seal.
A home is not maintenance-free; it requires consistent care. By organizing maintenance into monthly, seasonal, and annual tasks, you can prevent minor issues from becoming costly emergencies. Flushing your water heater, cleaning air filters, inspecting plumbing, and sealing exterior cracks can lead to lower utility bills, reliable appliances, and preserved structural integrity and resale value. True home comfort relies on consistent, proactive care. Set your schedule, stay vigilant, and call professionals when needed.
About the Author